

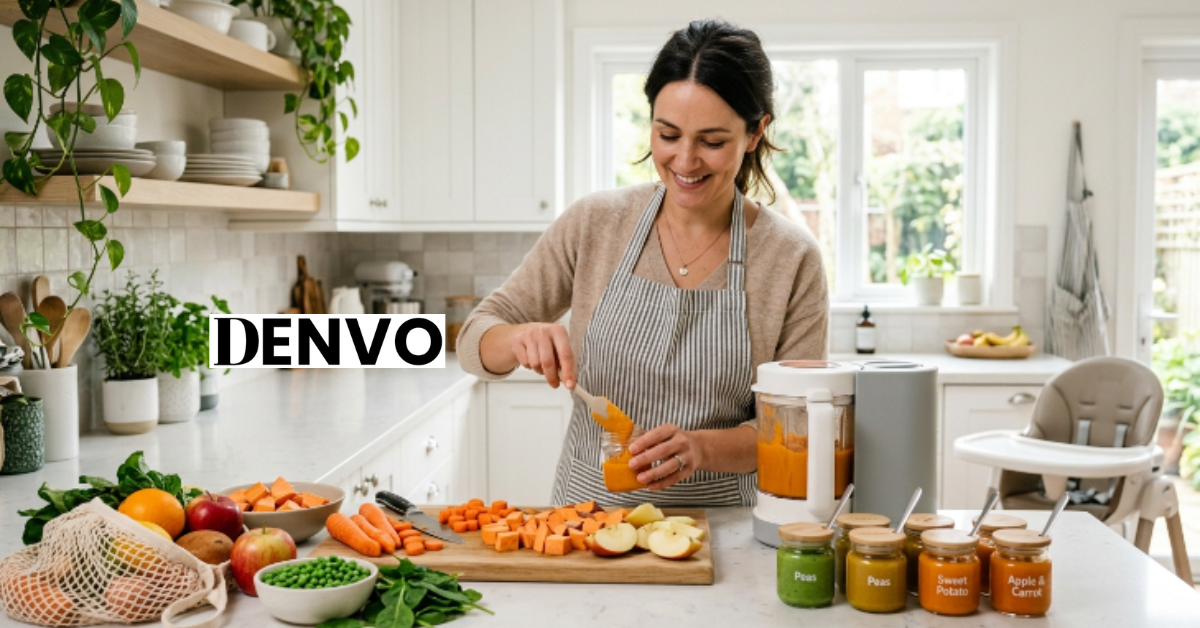
INTRODUCTION
Staring at rows of expensive baby food jars at the store, wondering if there’s a better way? You’re not alone. Many new parents want more control over what goes into their baby’s first meals, but feel intimidated by the idea of cooking from scratch.
Here’s the good news: learning how to make baby food at home is simpler than it looks, and you don’t need fancy equipment or culinary skills. With just a few basic tools and ingredients you probably already have, you can prepare fresh, nutritious meals your baby will love.
This guide walks you through everything step by step, from choosing the right foods to storing batches safely.
Why Make Baby Food at Home Instead of Buying Store-Bought?
Store-bought baby food is convenient, but homemade options come with real advantages worth considering.
Cost savings add up fast. A homemade batch of pureed sweet potato costs a fraction of what you’d pay for the same amount in jars, especially when you buy produce in bulk.
You control the ingredients. There’s no guessing about preservatives, added sugars, or sodium. You know exactly what’s in every spoonful.
Freshness matters too. Homemade purees often retain more nutrients since they’re cooked and served closer to preparation time, unlike shelf-stable jars that sit in storage for months.
Take Sarah, a first-time mom from Texas: she started batch-cooking on Sundays and found she saved nearly $40 a month while feeling more confident about her baby’s diet. Small wins like this add up over a baby’s first year.
That said, store-bought food isn’t “bad” — it’s a backup for busy days. The goal is balance, not perfection.
Essential Tools and Ingredients to Get Started
You don’t need a fully stocked kitchen to begin. Here’s what actually helps:
Basic tools:
- A blender, food processor, or immersion blender
- A steamer basket or saucepan
- Ice cube trays (perfect for portioning)
- BPA-free storage containers or freezer bags
Best first-food ingredients:
- Sweet potatoes
- Carrots
- Bananas
- Avocados
- Apples and pears
- Peas
Start with single-ingredient purees before mixing flavors. This makes it easier to spot allergies and helps your baby get used to new tastes one at a time.
Pro tip: Buy seasonal produce when possible. It’s cheaper and often fresher, which means better flavor and nutrition in every batch.
Step-by-Step Process for Making Baby Food at Home
Making baby food at home follows a simple four-step rhythm once you get the hang of it.
Step 1: Wash and prep. Peel, deseed, and chop fruits or vegetables into small, even pieces so they cook evenly.
Step 2: Cook until soft. Steaming is best because it preserves more nutrients than boiling. Aim for fork-tender texture, usually 10-15 minutes depending on the food.
Step 3: Blend to the right consistency. For younger babies (around 6 months), blend until smooth and thin, adding breast milk, formula, or water as needed. Older babies can handle thicker, slightly chunkier textures.
Step 4: Cool and serve. Always let food cool to room temperature before feeding your baby to avoid burns.
This entire process usually takes under 30 minutes for a single batch, and you can easily double or triple quantities to save time later in the week.
How to Store and Freeze Homemade Baby Food Safely
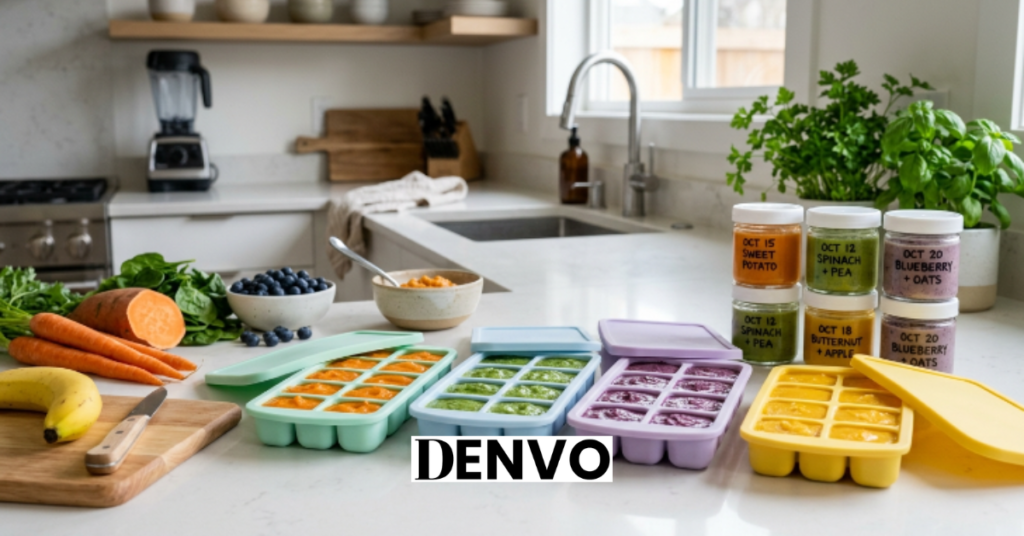
Batch cooking only works if you store food properly, so safety here is non-negotiable.
Refrigerator storage: Homemade purees stay fresh in the fridge for up to 48 hours in an airtight container.
Freezer storage: Pour cooled puree into ice cube trays, freeze until solid, then transfer cubes into labeled freezer bags. This method lets you thaw exactly what you need.
- Label each bag with the food type and date
- Use frozen purees within 1-3 months for best quality
- Thaw overnight in the fridge or use a gentle warm-water bath
Never microwave frozen baby food cubes directly without stirring, since uneven heating can create hot spots that burn your baby’s mouth.
A simple labeling system saves real headaches later. Many parents find that color-coded trays or dated stickers prevent the dreaded “mystery cube” mix-up in the freezer.
Common Mistakes to Avoid When Making Baby Food at Home
Even well-meaning parents stumble into a few avoidable traps.
Adding salt or sugar. Babies don’t need either, and their kidneys aren’t ready to process high sodium levels.
Introducing too many new foods at once. Stick to the 3-day wait rule between new ingredients to catch allergic reactions early.
Skipping texture progression. Babies need to gradually move from smooth purees to lumpier textures to develop healthy eating and chewing habits.
Not consulting a pediatrician first. Every baby develops differently, so check in before starting solids, especially with allergy-prone families.
Avoiding these missteps makes the whole process smoother and safer, building good habits that last well beyond the first year.
CONCLUSION
Making baby food at home doesn’t have to be overwhelming. With basic tools, simple ingredients, and a little planning, you can create fresh, affordable, and nutritious meals tailored exactly to your baby’s needs.
From choosing the right first foods to mastering safe storage, you now have a complete roadmap to get started with confidence. Many parents find that once they try it for a week, the process becomes a relaxing routine rather than a chore.
Give it a try this weekend — your baby (and your wallet) will thank you.
FAQs
How do I make baby food at home for the first time?
Start simple. Choose one soft fruit or vegetable like sweet potato or banana, steam it until tender, then blend with a little water or breast milk until smooth. Introduce one new food every three days to watch for allergic reactions. Once your baby adjusts, you can begin combining flavors and gradually thickening textures as they grow more comfortable with solids.
What foods should I avoid when making baby food at home?
Avoid honey, added salt, sugar, and cow’s milk as a main drink before age one. Also skip choking hazards like whole grapes, nuts, or popcorn. Stick to soft, easily mashed fruits and vegetables in the early months, and always consult your pediatrician about allergy-prone foods like eggs or peanuts before introducing them.
How long does homemade baby food last in the fridge or freezer?
Homemade baby food typically stays fresh in the refrigerator for up to 48 hours. In the freezer, properly stored purees last 1 to 3 months without significant nutrient loss. Always use airtight containers or labeled freezer bags, and avoid refreezing thawed portions to keep meals safe and fresh for your baby.
Is homemade baby food healthier than store-bought?
Homemade baby food gives you full control over ingredients, meaning no preservatives, added sugar, or excess sodium. It’s often fresher too. That said, store-bought options are convenient and still nutritious, especially for busy days. The healthiest approach is often a mix of both, depending on your schedule and lifestyle.
What equipment do I need to start making baby food at home?
You really only need a blender or food processor, a steamer basket or saucepan, ice cube trays for portioning, and some storage containers. Many parents already own these basic kitchen tools. There’s no need to buy specialized baby food makers unless you want the extra convenience.
Can I make baby food in bulk to save time?
Yes, batch cooking is one of the best time-saving strategies for busy parents. Set aside one day a week to steam and blend several fruits and vegetables, then freeze them in individual portions. This way, you’ll always have ready-to-thaw meals on hand without cooking daily.